Deploy Docker Container Using Ecs Fargate And Ecr
15 Mar 2024
. category:
.
Comments
Deploy a Docker Container using ECS, Fargate, and ECR.
In this blog, I am going to explain the process of deploying a dockerized application from a AWS Elastic Container Registry (ECR) to AWS Elastic Container Service (ECS).
If you also have a similar question like below?
What is ECR and ECS and do I need to use ECR and ECS? Are not there other platforms?
ECR is a fully managed Docker container registry AWS which allows you to store, manage, and deploy Docker container images securely. Yes, there are similar services like ECR, There are other platforms like,
1) Google Container Registry (GCR)
2) Azure Container Registry (ACR)
3) Docker Hub
4) Quay.io
5) GitLab Container Registry
6) Harbor
ECS is a fully managed container orchestration service from AWS which allows you to run, manage, and scale Docker containers in a highly available and secure environment. Yes, there are similar services like ECS, There are other platforms like,
1) Google Kubernetes Engine (GKE)
2) Azure Kubernetes Service (AKS)
3) DigitalOcean Kubernetes (DOKS)
3) Red Hat OpenShift
4) HashiCorp Nomad
5) Docker Swarm
Below are a few benefits of deploying with ECS, ECR over traditional deployment method.
1) Containerization
2) Scalability
3) Resource Optimization
4) Integration with AWS Services
5) High Availability and Fault Tolerance
6) Security
7) Deployment Flexibility
8) Cost Efficiency
ok, assuming that you want to continue on it, Lets start learning how we can integrate the ECR, ECS (fargate) to deploy a simple dockerized application.
Note that you would need to have full permission for ECS, ECR to follow this tutorial fully.
Create and test Docker Image:
A demo example can be taken from the Docker docker-curriculum.com. Clone the directory.
git clone https://github.com/prakhar1989/docker-curriculum.git
cd docker-curriculum/flask-app
docker build -t my_test_app . # build the app locally
docker run --publish 5000:5000 myapp # test the app if it runs locally
Create an ECR registry.
Login to the aws console and search for ECR in the search box.
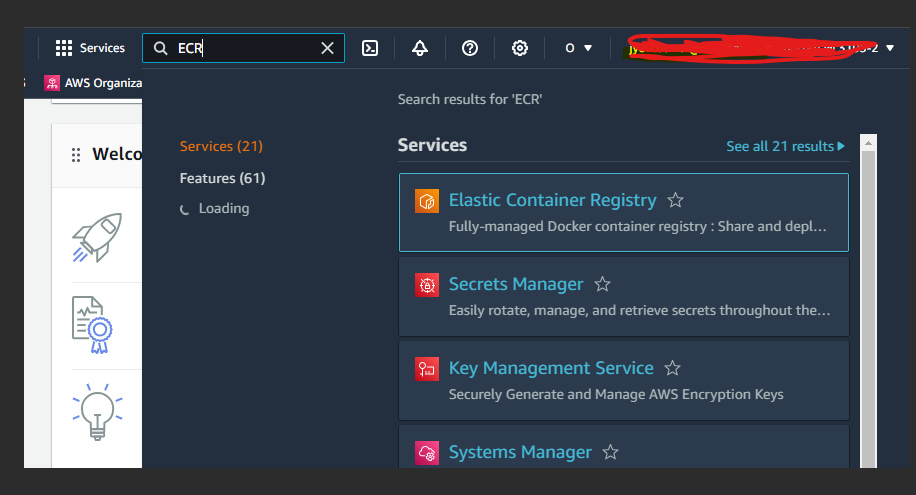
Create a repository there.

On the creation of the ECR repository, you will be redirected to the repository list.
and you will be able to see the repository you just created, which will have a URI that looks sth like below:
id_of_the_ecr_repo.dkr.ecr.us-east-2.amazonaws.com/my_test_app
Tag the image
docker tag
docker tag my_test_app id_of_the_ecr_repo.dkr.ecr.us-east-2.amazonaws.com/my_test_app
Configure Docker CLI permission to access your AWS ac.
Hit the following command in your terminal, this will ask you access and secret id, if you are a root account then can get this when creating an AMI account, if you are not a root account you would need to ask the person with root access for the access id and secret key.
aws configure
Log in to ECR.
aws ecr get-login-password --region us-east-1 | docker login --username AWS --password-stdin [your account number].dkr.ecr.us-east-1.amazonaws.com
Push into ECR
docker push <id_of_the_ecr_repo>.dkr.ecr.us-east-1.amazonaws.com/my_test_app
Create a fargate cluster
Before creating a fargate cluster, some of the reasons for selecting a fargate cluster are: 1) Serverless Computing
2) Resource Efficiency
3) Scalability
4) Isolation and Security
5) Simplified Networking
6) Managed Updates and Maintenance
7) Focus on Application Development
Navigate to the ECS section in the AWS, select on create cluster.
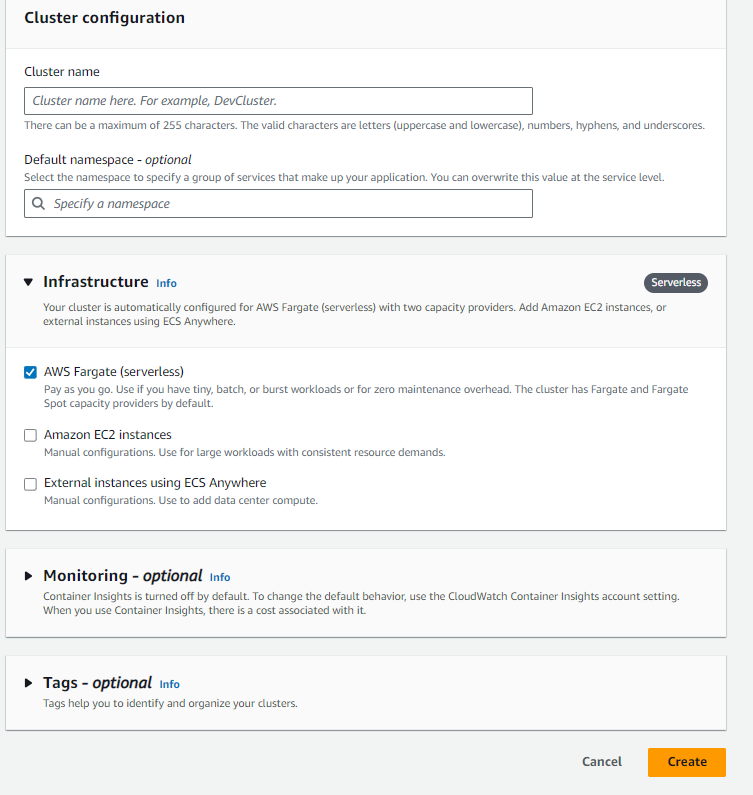 you can name anything to the cluster name, select fargate, leave other fields as they are and create.
Create an ECS Task
Now click on the Create new task definition button.
Select Fargate in the infrastructure requirements.
Add new container row,
name can be anything
image URI must be the ECR image URI.
Add new port mapping row.
Value of the container port should be 5000 as that was what we had mentioned while building docker image.
The form is self-explanatory so I would skip explaining what the fields mean.
So hit create and a new task definition will open up for you.
Run the ECS task
Select your task in the task definition list
click on the actions
click on the Run task
Select the launch type for Fargate
Add or select a security group which accepts 5000 port in incoming rule.

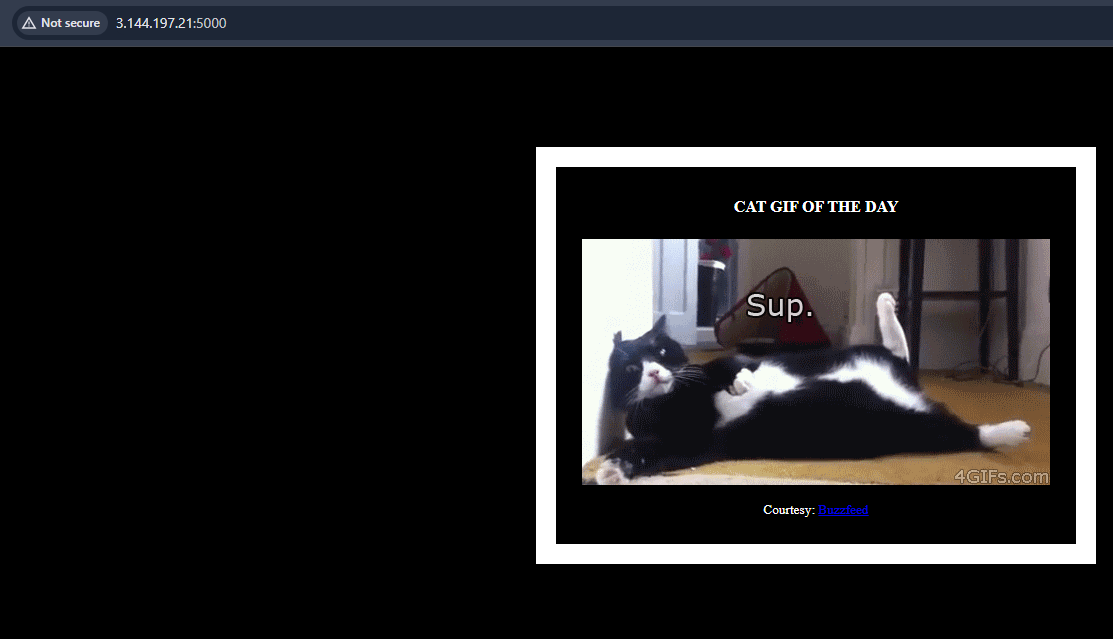
Look for the public IP address and add :5000 in your browser to your app.

Clear up all the resources
Now, after the app has worked on your end, dont forget to delete the resources as they will incur money if not shutdown.
Go the cluster

Click on the tasks and select the tasks you have over there and stop them. Also make sure to
1) deregister task definition
2) delete the ecr repo
you created on the process as they are no longer necessary.
References:
1) https://blog.devops.dev/aws-ecs-deployment-containerized-application-with-ecr-and-fargate-3ffbaac94df4
2) https://docs.aws.amazon.com/AmazonECR/latest/userguide/ECR_on_ECS.html
3) https://community.aws/content/2afexmbdvdPwP281owMfErZ4l1n/how-to-deploy-aws-ecs-fargate-service-using-aws-cdk
4) https://blog.awsfundamentals.com/ecs-on-fargate
5) https://sakyasumedh.medium.com/deploy-backend-application-to-aws-ecs-with-application-load-balancer-step-by-step-guide-part-3-b8125ca27177
Thank you and happy coding.

Jyoti is trying to be an awesome human being. In spare time he loves to eat and go to new places.